Bring back balanced light
Balance exposure and contrast so the subject reads clearly while retaining the original lighting mood.

Give a compressed or dull photo a clearer finish. This photo enhancer balances overall image quality with natural fine details, while keeping the original subject and composition.
Balance exposure and contrast, reduce noise and compression artifacts, and refine natural detail.
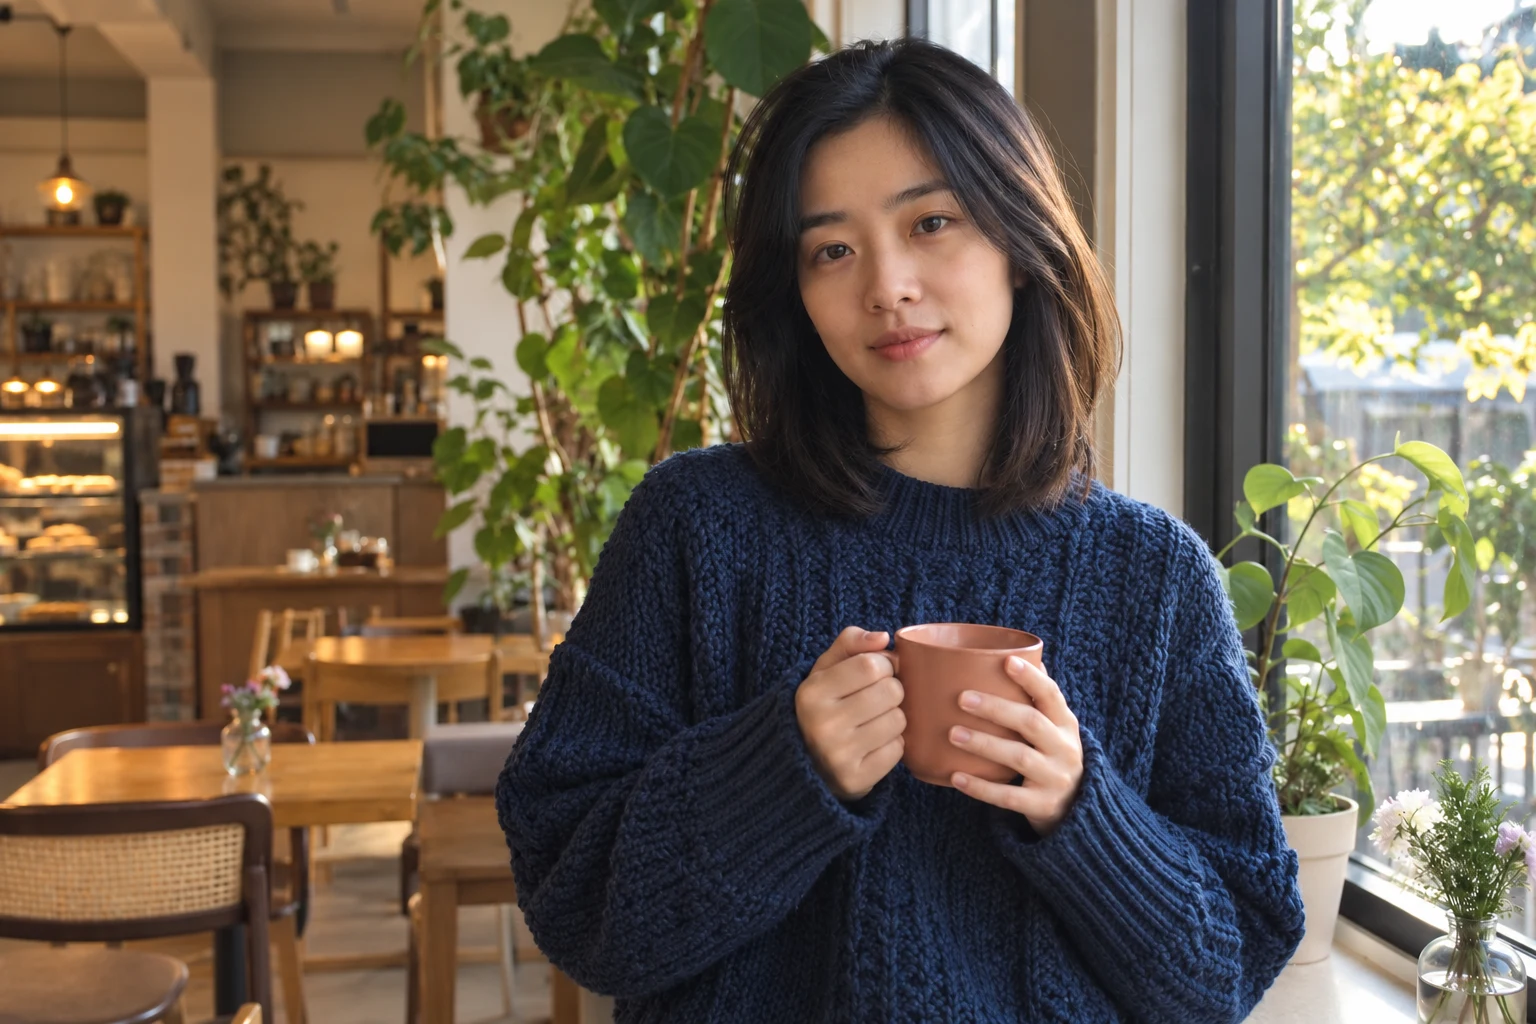
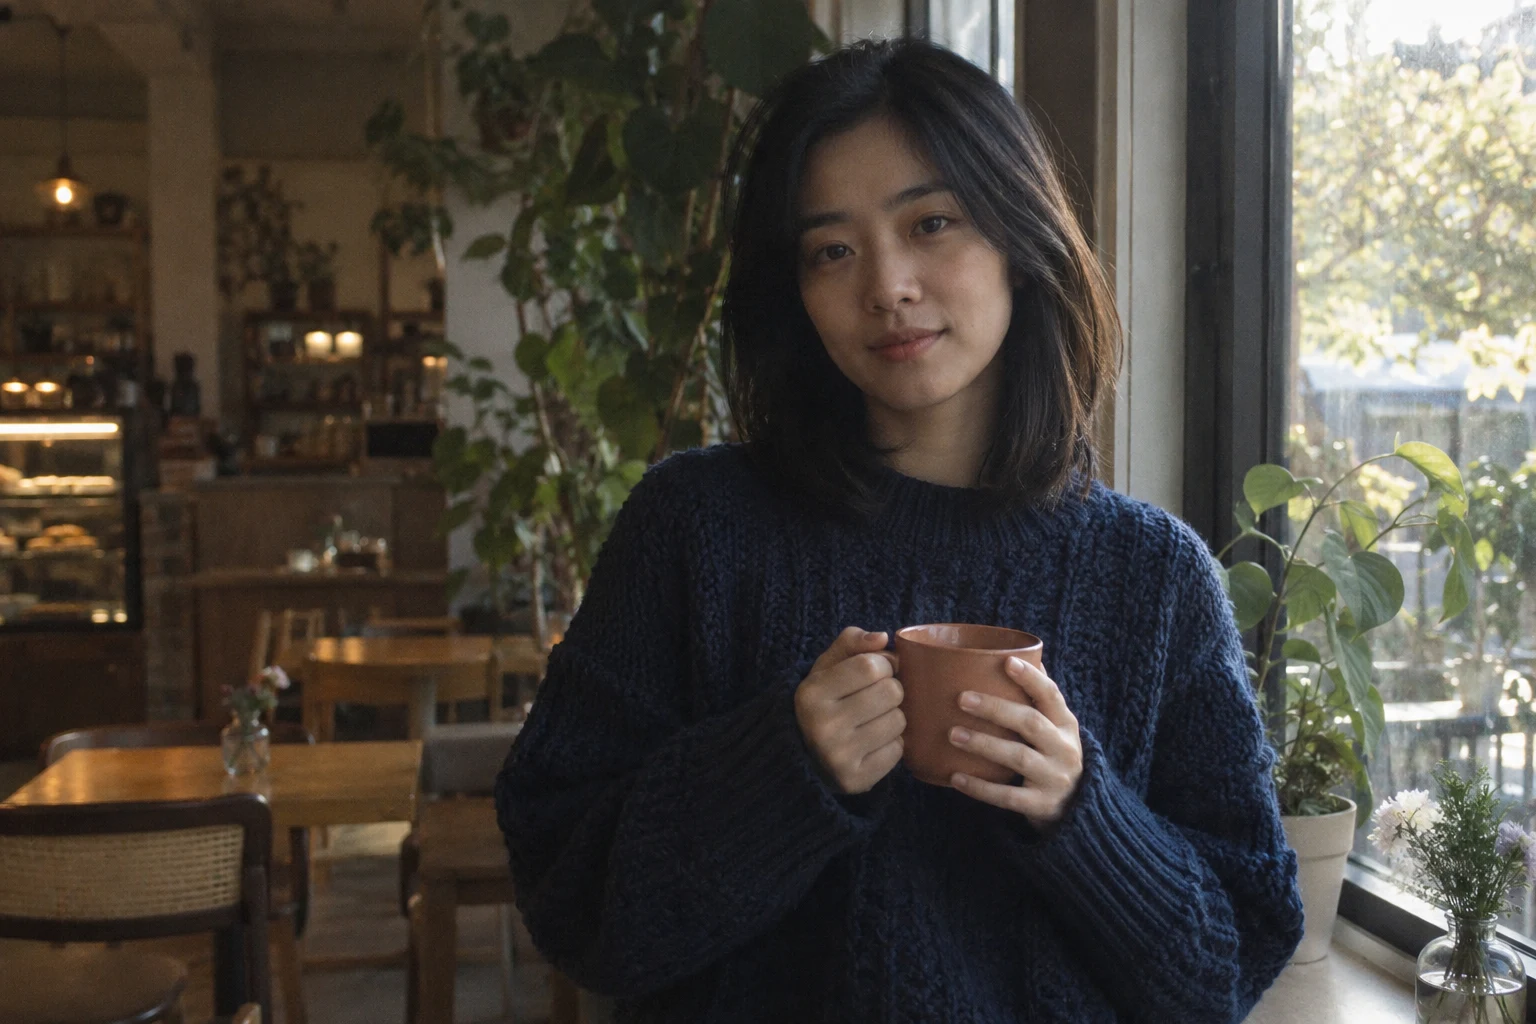
Both the source and enhanced images below are AI-generated illustrations of the intended effect, not GPT Image 2.5 benchmark results.
Upload your image or load an example below. This page’s enhancement preset is already selected.
A photo can have enough pixels and still look flat or noisy. The image enhancer preset works on tonal balance, clean edges and texture together. Compare the full frame first, then inspect hair, fabric and object edges before downloading.
Balance exposure and contrast so the subject reads clearly while retaining the original lighting mood.
Address grain, soft edges and compression artifacts in shared photos or dim everyday shots.
Focus on skin, hair, knitted fabric and food surfaces, keeping clearer details photographic.
Explore the intended changes at both image and detail level, then load a source image to try the preset.
Both the source and enhanced images below are AI-generated illustrations of the intended effect, not GPT Image 2.5 benchmark results.
Dark hair and a knitted sweater call for both exposure balance and texture. Compare the face, strands and knit as the image gets brighter.
What the preset asks for
Balance exposure and reduce grain; preserve facial identity, composition and natural skin.
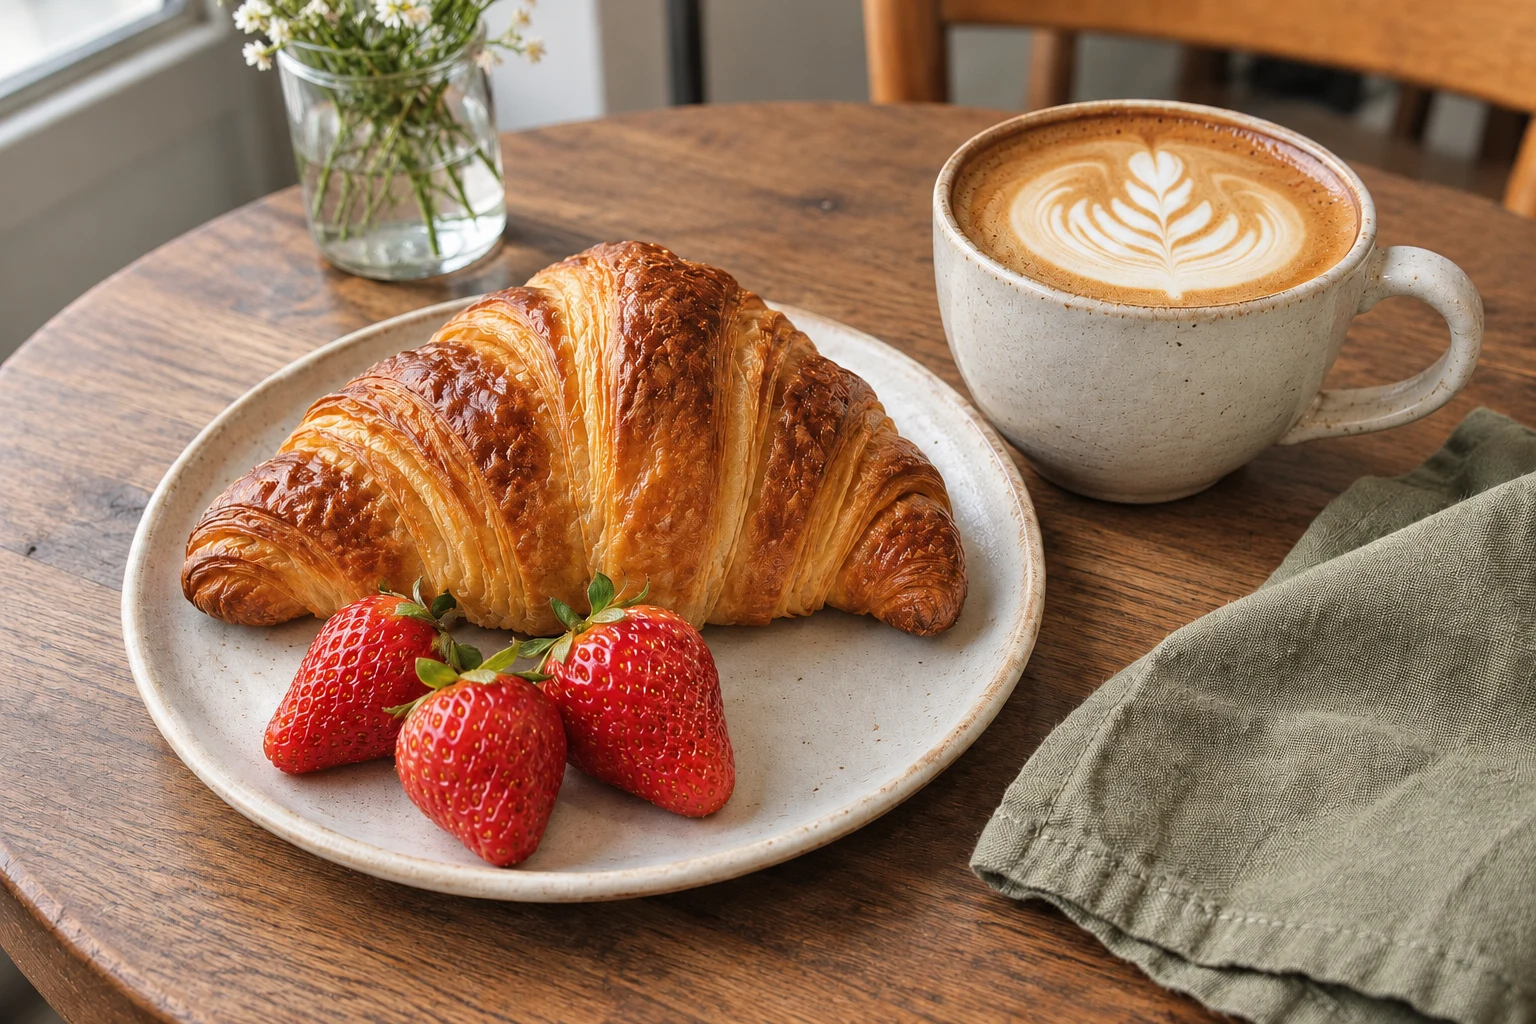
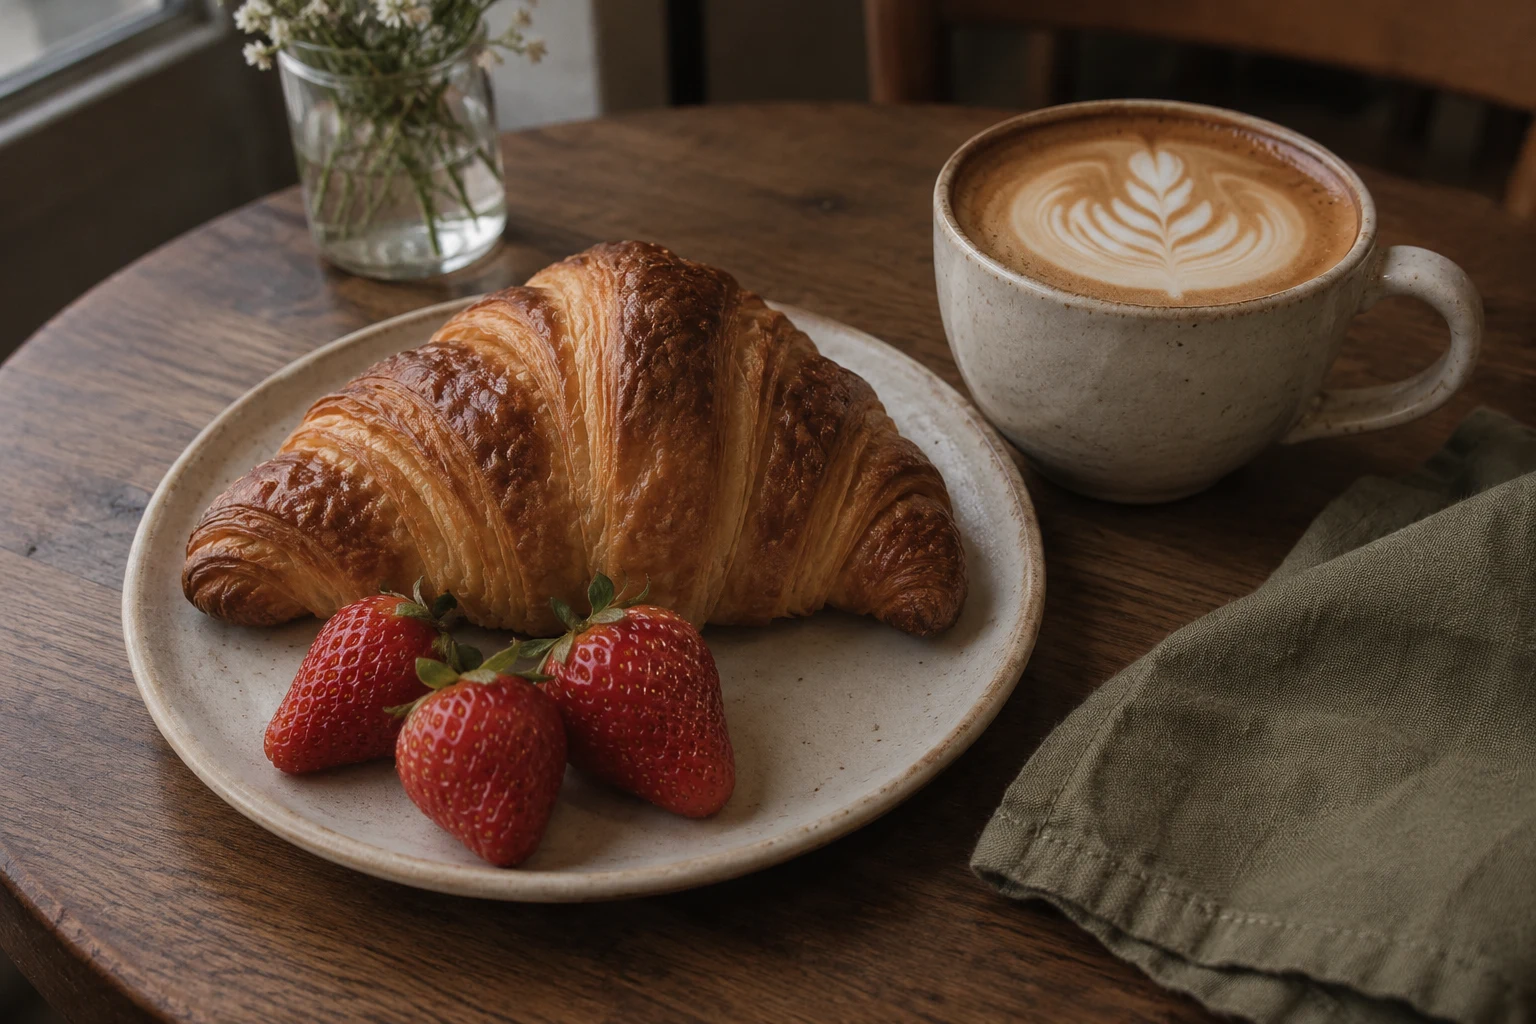
Croissant layers, strawberry surfaces and milk foam have distinct textures. The goal is clearer detail with the same window light and food colors.
What the preset asks for
Improve lighting and local texture; keep food shapes, counts and positions.
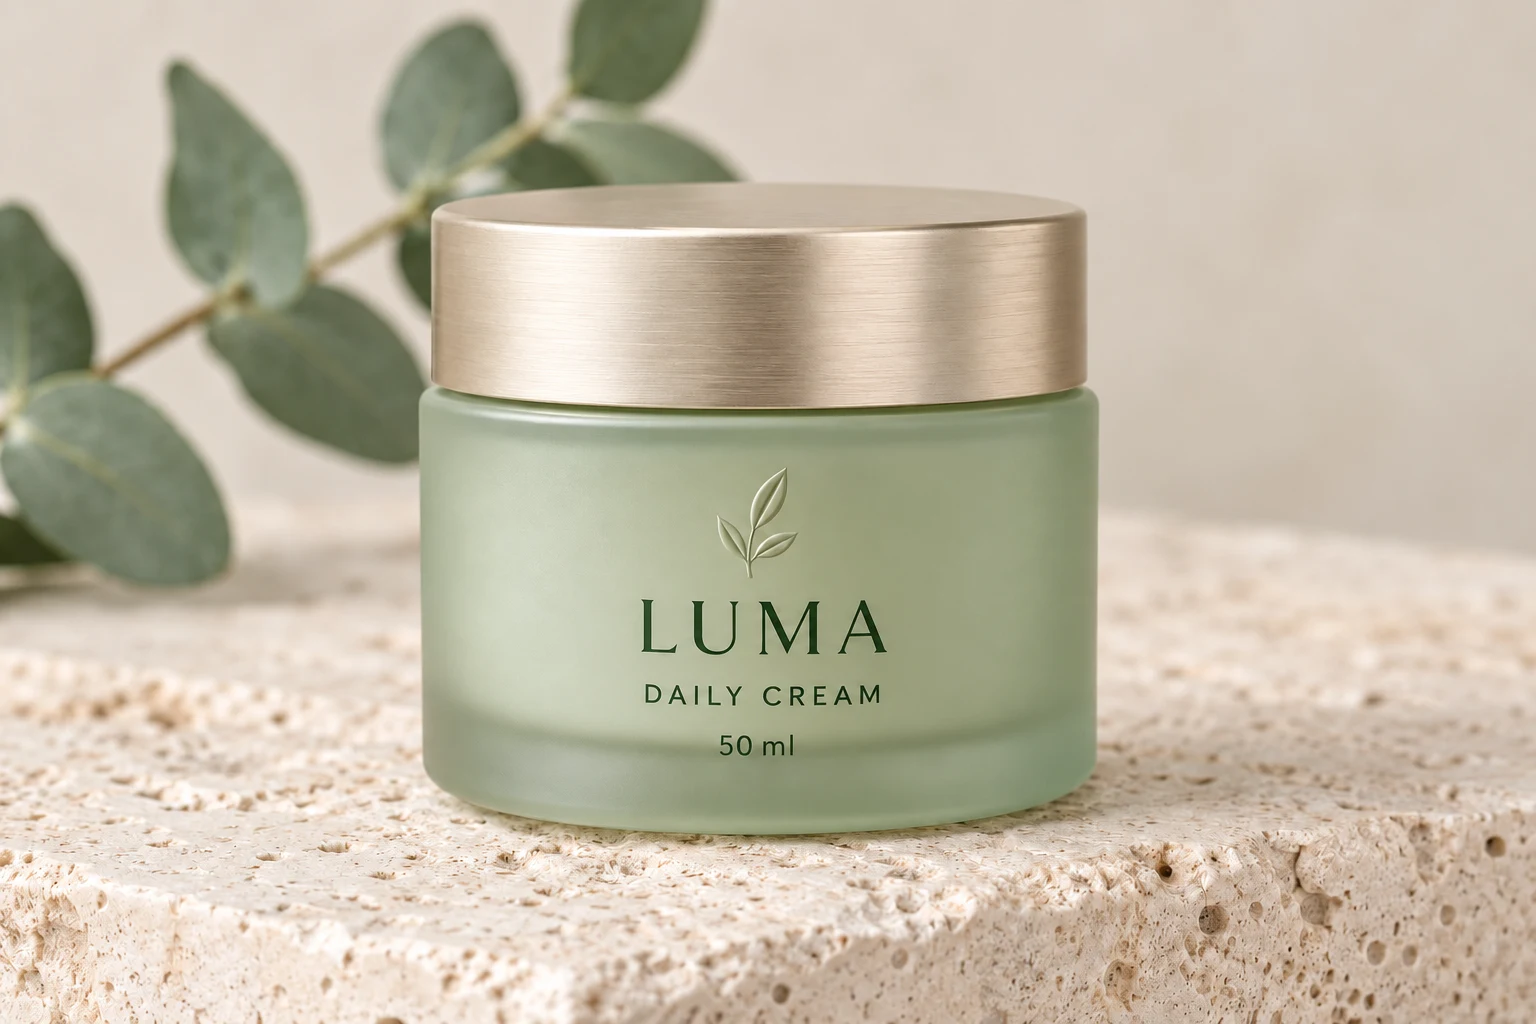
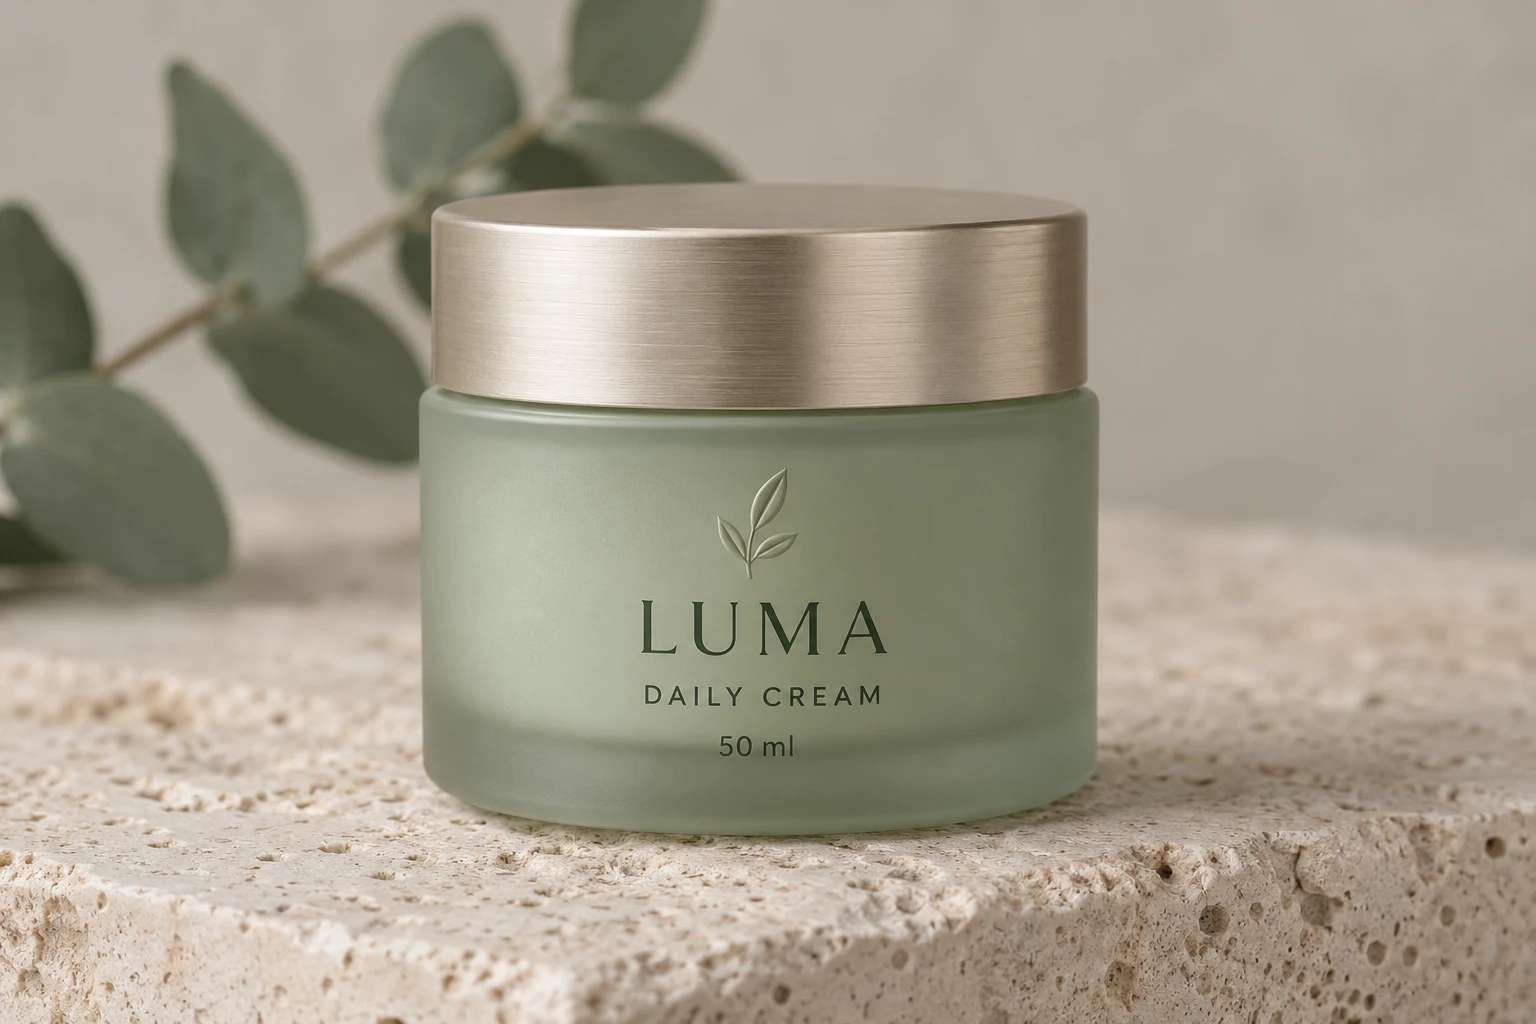
The same product combines a smooth metal lid and fine frosted glass. Compare overall light, then the label and finish, for a general quality pass.
What the preset asks for
Improve visible detail and exposure; keep the jar outline, label and background.
These close-ups use the same comparison images. Move the slider to examine texture, edges and color.
Improve dim or rough-looking everyday shots for albums and sharing.
Refine light and detail in article, social and cover images.
Focus on food surfaces and colors while keeping the plating and mood.
Choose a JPG, PNG, or WebP image. Start with the original file rather than a screenshot of a screenshot.
The task preset is selected for you. Choose medium or high quality and 2K or 4K output. Leave the ratio on auto to keep the original proportions.
Generate one image, drag the comparison slider to inspect details, then download the version you want.
Use the task preset on this page to improve lighting, edges or materials when the image itself needs work.
Overall image qualityUse the separate 2× or 4× workflow when your main goal is a larger image.
AI image upscalerAn upscaler enlarges the image. A photo enhancer also targets exposure, noise, compression and detail. Choose HD redraw for the enhancement preset, or smart upscale when your main goal is 2× or 4× enlargement.
Start with the general enhancement preset and examine skin, hair and high-contrast edges. Its instructions ask for natural detail without sharpening halos or plastic skin.
The preset addresses exposure, contrast and noise together. You do not need separate instructions; upload a file that retains the original detail.
HD redraw uses GPT Image 2.5 Sunburst. The smart-upscale tab provides a separate 2× or 4× enlargement workflow.
GPT Image 2.5 redraw requires sign-in and credits. The workspace shows the cost for your selected quality and resolution. Smart upscale has its own daily guest allowance and pricing.
Upload JPG, PNG or WebP. Original files usually retain more detail than chat thumbnails or screenshots.
After generation, the workspace shows your source and result. Drag the slider to compare matching areas, then save the output with the download button.
No. Loading an example places its source image in the workspace and selects the preset. A processing task starts only when you click Generate. The displayed comparisons are AI-generated illustrations.
Choose an image, compare the generated result and download the version you prefer.
Upload an imageGPT Image 2.5 · Sunburst
Overall image quality
Balance exposure and contrast, reduce noise and compression artifacts, and refine natural detail.
Upload an image for AI HD redrawing, the aspect ratio will be preserved
Supports JPEG, JPG, PNG, BMP, WebP, HEIC. Max 10MB.
Please log in to use this feature