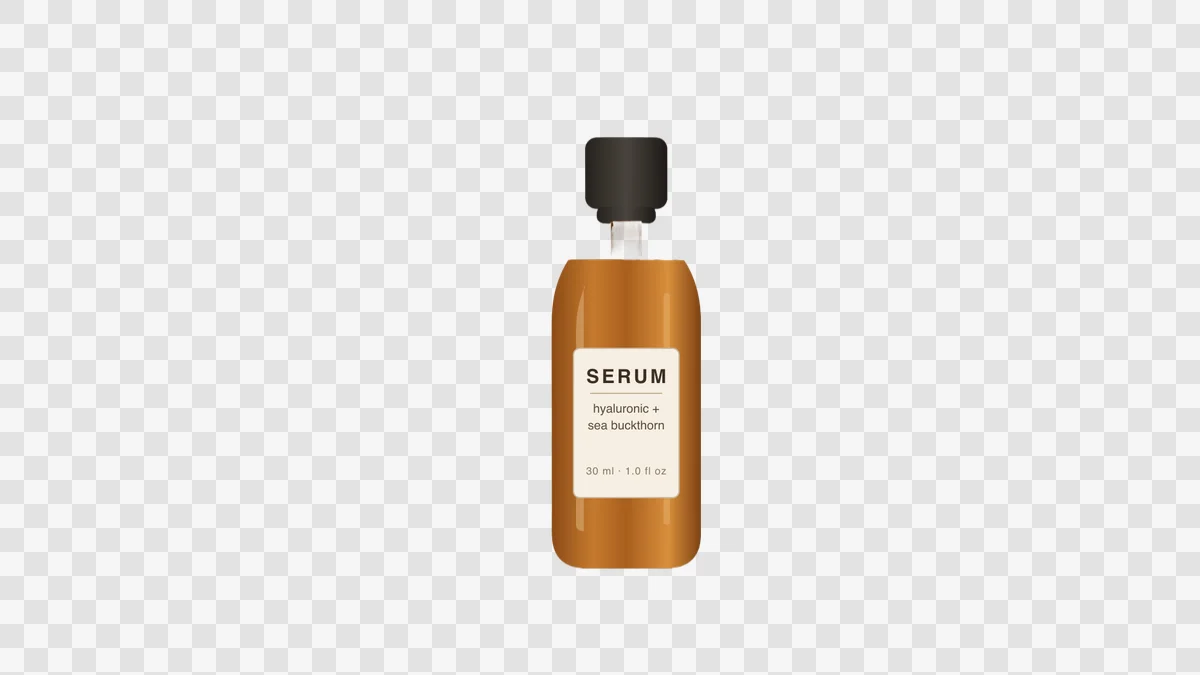
How to Remove the Background from an Image (2026 Guide)
Removing a background used to mean an hour with the pen tool. In 2026 it is a browser task: upload a photo, let the AI find the subject, check the edges, download the cutout. This guide walks through the whole workflow on PixMind's Background Remover — including the preparation steps that decide whether your cutout comes out clean or ragged.
What you need before you start
- A source image in JPG, PNG, WebP, or BMP, up to 3MB, with both sides between 32 and 2000 pixels. Anything larger should be resized down first.
- A clear subject. One person, one product, one logo. The AI separates the foreground from the backdrop; it does not read your mind about which object matters.
- No signup for basic use. You can process one image per task for free; paid members can batch up to five at once.
Step 1 — Check the image before uploading
The two most common causes of a bad cutout are a tiny source image and a busy backdrop. If the subject occupies less than a third of the frame, crop closer before uploading — cutout quality tracks subject resolution, not canvas size. If the background is cluttered but the subject has a clean silhouette, you will usually still get a usable result; if the background color is close to the subject color (a white shirt on a white wall), expect to need a retry with a different photo.
Step 2 — Upload to the Background Remover
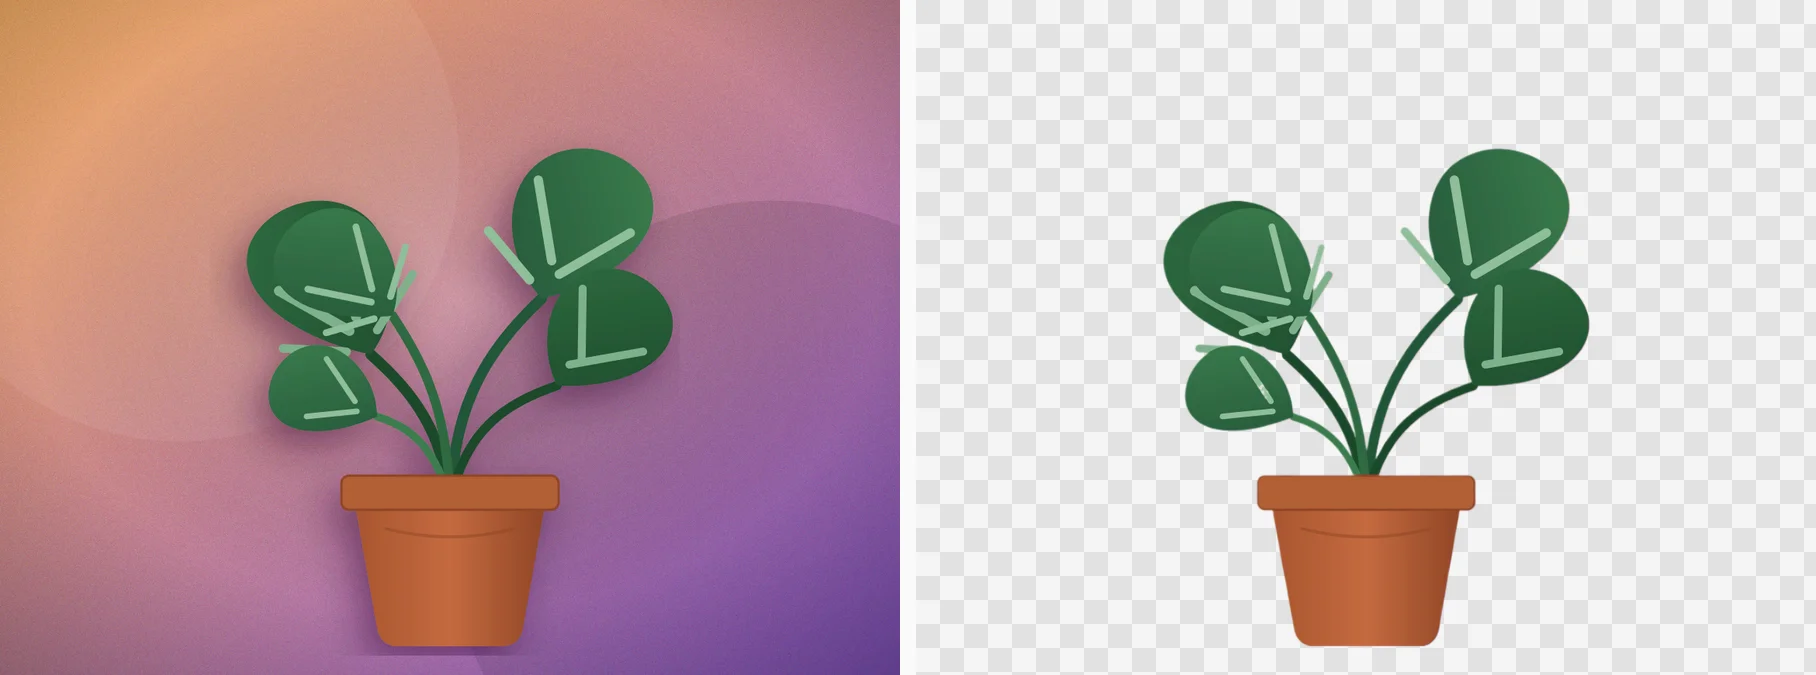
Open the Background Remover and drag the image into the upload area, or click to select it. Processing runs automatically — there is no brush work and no mask to paint. The tool detects the subject, removes the backdrop, and shows the result in a before/after comparison slider you can drag across the image to inspect edges.
Step 3 — Choose the output you need
Before uploading, pick the output mode:
- Transparent PNG (default). The background becomes real transparency, saved as a PNG. This is what you want for design work, overlays, thumbnails, and anything that will sit on top of another background.
- White background. The cutout is placed on a solid white backdrop — the format most marketplaces expect for main images. If you are preparing product listings, see the Product Background Remover.
Note that JPG files cannot store transparency, so even if you upload a JPG, the result comes back as a PNG when you choose the transparent option.
Step 4 — Verify the edges and download
Drag the comparison slider across the areas where edges usually fail: hair, fur, glass, reflections, and anything thin (straps, antennas, stems). Zoom mentally on the checkerboard pattern — transparent areas are marked by the checkerboard, so you can see exactly what was removed. When the edges look right, click download to save the PNG.
Five habits that produce cleaner cutouts
- Fill the frame with the subject. More subject pixels means more edge detail for the model to work with.
- Shoot on a plain backdrop when you can. A wall, a sheet of paper, or an empty desk separates better than a busy room.
- Use even lighting. Hard shadows stick to the subject and often survive the cutout.
- Keep the highest-resolution original. Resize for upload if needed, but start from the sharpest file you have.
- Retry with a different photo when edges fail. Fuzzy sweaters, mesh, and glass sometimes need a second attempt with more contrast between subject and background.
Where the cutout goes next
A transparent PNG is the starting point for a lot of downstream work: marketplace listings that require pure white main images, logos that need to sit on any color, stickers and thumbnails for video work, and layered compositions in design tools. PixMind has task-specific pages for the most common jobs — the Transparent Background Maker for PNG output, the Logo Background Remover for brand files, and the Product Background Remover for e-commerce shots.
Frequently asked questions
Is it free? Yes, you can remove backgrounds without signing up; free accounts process one image per task, and paid members can batch up to five images at a time.
Does it work on photos of people? Yes — portraits are one of the most common inputs. Hair against a plain background comes out cleanly; hair against a busy background may need a retry.
Can I use it on my phone? Yes. The tool runs in the browser, so it works on mobile browsers as well as desktop.