MP4 to GIF: How to Convert Without Losing Quality (2026)
MP4 is the format nearly every camera, phone, and editor produces, and GIF is the format that loops automatically in chats, docs, and image slots. Converting between them is easy; converting without wrecking quality or file size is the part most quick guides skip. This tutorial shows the exact settings that keep an MP4-to-GIF conversion sharp — using PixMind's Video to GIF converter as the working example.
Key Takeaways
- The two settings that decide GIF quality are output width and frame rate; match them to where the GIF will be displayed, not to the source resolution.
- GIF's 256-color limit is the source of banding on gradients — counter it with shorter clips, smaller widths, and flat-color scenes.
- Trim in the converter before exporting; converting the whole MP4 first wastes time and produces files platforms will reject.
- If your goal is autoplaying silent video on a social platform, check whether posting the MP4 directly works better — many platforms loop MP4s natively now.
Why MP4-to-GIF Conversions Degrade (and When They Don't)
Two formats, two compression philosophies. MP4 stores changes between frames and millions of colors. GIF stores every frame as a standalone image with at most 256 colors. That mismatch is the entire quality story:
| Property | MP4 (H.264) | GIF |
|---|---|---|
| Colors per frame | Millions | Up to 256 |
| Audio track | Yes | No |
| Frame storage | Inter-frame (stores changes) | Full image per frame |
| Typical result for a 5s clip | Small | Several times larger |
| Autoplays in image slots | No | Yes |
A conversion degrades visibly when the source leans on what GIF cannot store: smooth gradients, subtle color shifts, fast motion with 30+ fps. It holds up well when the clip has flat colors, modest motion, and readable text — UI demos, logos, line art, screen recordings with light themes.
The practical conclusion: pick your segment for GIF-friendliness when you can, then tune the export.
Step 1: Trim the MP4 to the Exact Moment
Open the Video to GIF converter, drop in your MP4, and set the in and out points before anything else. Every second you keep multiplies across dozens of frames, so the trim is your first and largest quality-per-byte decision. A clean 4-second beat converts better than a 15-second scene that includes dead air.
Step 2: Downscale Deliberately
Exporting at the MP4's native 1920×1080 is the most common mistake. At that width a GIF becomes a download problem before anyone watches the loop. Choose by destination:
- Chats and comment threads: 320–480px wide is plenty; these surfaces render small.
- Docs and READMEs: 640–800px keeps code screenshots and UI text readable.
- Hero spots on a page: 720px is a sensible ceiling for a looping moment.
Downscaling also softens the 256-color banding, because fewer pixels means fewer gradient steps for the palette to approximate.
Step 3: Choose a Frame Rate That Matches the Motion
For typical MP4 footage at 24–30 fps, exporting the GIF at full rate inflates the file without visible benefit. Sample instead:
- Screen recordings, slides, UI: 10–12 fps reads as smooth.
- Vlogs, product shots, moderate motion: 15 fps.
- Sports, gameplay, camera moves: up to 24 fps.
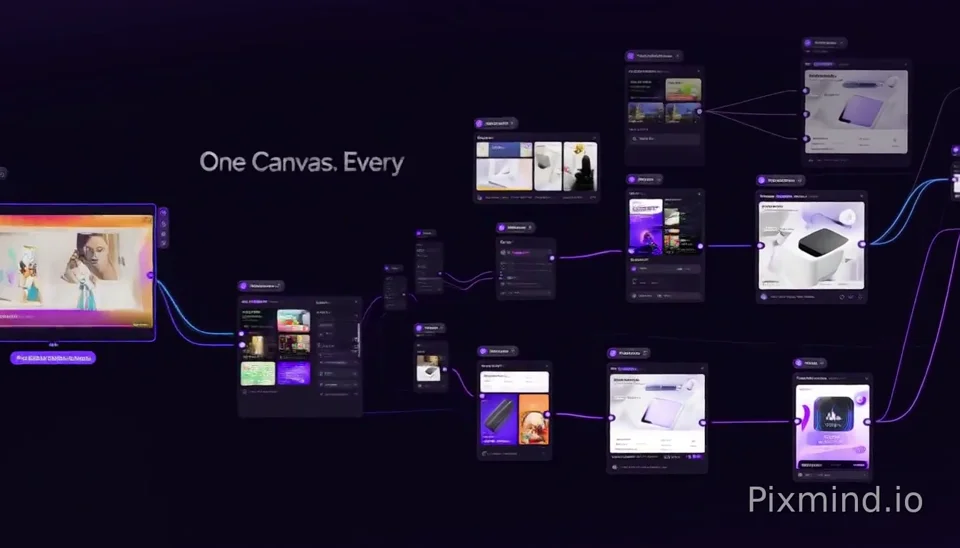
Step 4: Export and Inspect the Result
Convert, then look at three specific things:
- The loop seam. Watch two full loops. Trim a frame or two if the restart jumps.
- Text edges. If on-screen letters have halos or shimmer, that is palette quantization — reduce width or pick a segment with a calmer background.
- File size. If the destination is a chat app and the file is in the tens of megabytes, revisit steps 1–3 before shipping.
When You Should Skip the GIF Altogether
Some "MP4 to GIF" jobs are better solved by staying with MP4. If the clip needs sound, runs past ten seconds, or will live on a platform that autoplays muted videos anyway, posting the video directly gives better quality at a fraction of the size. The format-by-platform breakdown is in GIF vs MP4: which format should you post.
For work that starts from a longer recording, cutting scenes first — the approach in splitting a video into clips by scene — gives every export, GIF or otherwise, a clean in-point.
Frequently Asked Questions
Can you convert MP4 to GIF without losing quality?
Not literally — the GIF format caps colors at 256 per frame, so some loss is structural. But well-tuned settings (short clip, right-sized width, matched frame rate) keep the loss invisible for most content, especially screen recordings and flat-color footage.
What is the best resolution for an MP4-to-GIF conversion?
Match the display, not the source: 320–480px for chats, 640–800px for documentation, up to 720px for page placement. Exporting at 1080p produces files most platforms and chat apps handle poorly.
Why does my GIF look grainy when the MP4 looked fine?
Grain and banding appear when the 256-color palette cannot represent smooth gradients. Shrink the output width, shorten the clip, or choose a segment with less color variation. Fast motion also amplifies the effect at low frame rates.
How do I reduce GIF file size after converting?
The levers, in order of impact: trim the clip shorter, reduce output width, lower the frame rate. Re-converting with new settings beats running the finished GIF through a separate compressor — every re-compression pass costs quality again.
Does converting MP4 to GIF keep the audio?
No — the GIF format has no audio. If the sound matters, share the MP4 or a platform-native video. See GIF vs MP4 for when each wins.