An edited video can contain a dozen reusable shots but arrive as one flattened file. Recovering those shots by hand means finding every transition, placing cut markers, and exporting each segment separately. PixMind's online video splitter turns that job into one browser workflow.
Open the video splitter, add a short source file, and choose whether the content, a target duration, or a target clip count should define the cuts.
Key Takeaways
- Choose Scene changes when an edited video contains visible hard cuts between shots.
- Choose Fixed duration when each clip needs a repeatable length, or Equal parts when you need an exact file count.
- The current tool accepts MP4, MOV, and WebM files up to 100 MB and 120 seconds, processes them in the browser, and exports separate MP4 clips or one ZIP.
What does splitting a video by scene mean?
Scene-based video splitting finds substantial visual changes between consecutive frames and uses them as clip boundaries. A new camera angle, a hard edit, or a switch from a product close-up to a wide shot can create a boundary. Movement within one continuous shot should not.
This differs from cutting at arbitrary timestamps. A source with three visible shots can produce three independent clips. A continuous take with no clear edit may remain one clip.
Scene splitting is useful when the original editing project is unavailable. It will not rebuild the source timeline, effects, or layers, but it can recover practical shot-level files from an ad reference, montage, storyboard export, or approved social video.
Choose the split mode that matches the next task
The right mode depends on what must remain predictable: the visual boundary, the duration, or the number of files.
| Mode | How cuts are chosen | Best for | Output behavior |
|---|---|---|---|
| Scene changes | Detects substantial visual transitions | Edited ads, reels, montages, and storyboard exports | One MP4 for each detected section |
| Fixed duration | Cuts after a chosen number of seconds | Social segments, review batches, and delivery limits | Repeated lengths, with a shorter final clip when needed |
| Equal parts | Divides total duration by a chosen clip count | Predictable handoffs and parallel review | Exactly 2 to 20 balanced clips |
Use one decision rule: let content choose the boundary for edited footage, let time choose it for repeatable publishing slots, and let file count choose it for a fixed handoff. Scene detection is not automatically the best mode for every video.
How browser-based scene splitting works
The workflow has two distinct stages: finding boundaries and creating files.
The detector compares decoded video frames
The scene mode reads the primary video track from the selected file, decodes its frames, reduces them for analysis, and compares hue, saturation, and brightness features between neighboring frames. It uses an adaptive baseline, filters brief flashes, and groups candidates that are too close together.
That design explains both strengths and limits. Hard cuts create a strong difference and are easier to find. Slow dissolves, two similarly composed shots, exposure changes, or very fast motion can create weaker or misleading signals.
The implementation uses browser media interfaces exposed through Mediabunny. Its official Reading media files guide documents reading a user-selected File, checking whether a track can be decoded, and accessing frame-timed media data. The underlying W3C WebCodecs specification defines JavaScript interfaces for browser audio and video codecs.
Each result is rendered as a new MP4
After boundaries are ready, the splitter uses ffmpeg.wasm to create each segment. The ffmpeg.wasm overview describes the project as a WebAssembly and JavaScript port of FFmpeg that runs media processing inside browsers.
The current export path re-encodes video as H.264 and audio, when present, as AAC. The official FFmpeg Codecs Documentation documents the libx264 wrapper and native AAC encoder used by that command. This produces consistent MP4 files and avoids empty or repeated segments around seek points, but it is not a lossless stream copy. Rendering therefore takes longer than calculating timestamps alone, especially for higher-resolution or higher-frame-rate inputs.
How to split a video into scene clips
1. Add a compatible short video
Choose an MP4, MOV, or WebM file no larger than 100 MB and no longer than 120 seconds. The file must meet both limits.
Edited sources with deliberate cuts work best. Good candidates include product montages, short commercials, social reels, animatics, and reference clips you want to inspect shot by shot. If the browser cannot decode the source codec, export a standard MP4 and try again.
2. Select Scene changes
Choose Scene changes under “How should this video be split?” This tells the tool to inspect the visual content rather than apply a fixed schedule.
If the source is one continuous take, skip detection and choose Fixed duration or Equal parts instead.
3. Detect scenes and create the clips
Select Detect scenes and split. Progress covers both analysis and MP4 creation. The selected source stays on the device rather than being uploaded to product storage.
The first run may start more slowly while the browser prepares its media-processing components. Duration, resolution, frame rate, and output count all affect local processing time.
4. Preview every boundary
Each result shows a clip number, start time, end time, and duration. Check the clips immediately before and after every proposed cut:
- Does the previous shot end cleanly?
- Does the next clip begin on the intended image?
- Was a flash or exposure change mistaken for an edit?
- Did a dissolve remain inside one clip?
This review is still necessary because scene detection evaluates visual change, not story meaning or dialogue.
5. Download one MP4 or the complete ZIP
Download individual clips when only a few shots are useful. Choose Download all as ZIP when the complete batch will move into an editor, review queue, or asset library.
When each split mode works best
Scene changes for edited footage
Choose Scene changes when the source already contains visible edits. Hard cuts between different camera angles, locations, products, or graphics provide the clearest boundaries.
Do not expect semantic chapter detection. A speaker can change topics without changing the picture, and the detector will not treat that as a new scene.
Fixed duration for repeatable time blocks
Fixed duration accepts a value from 1 to 120 seconds. A 70-second source split every 15 seconds produces four 15-second clips and one 10-second final clip.
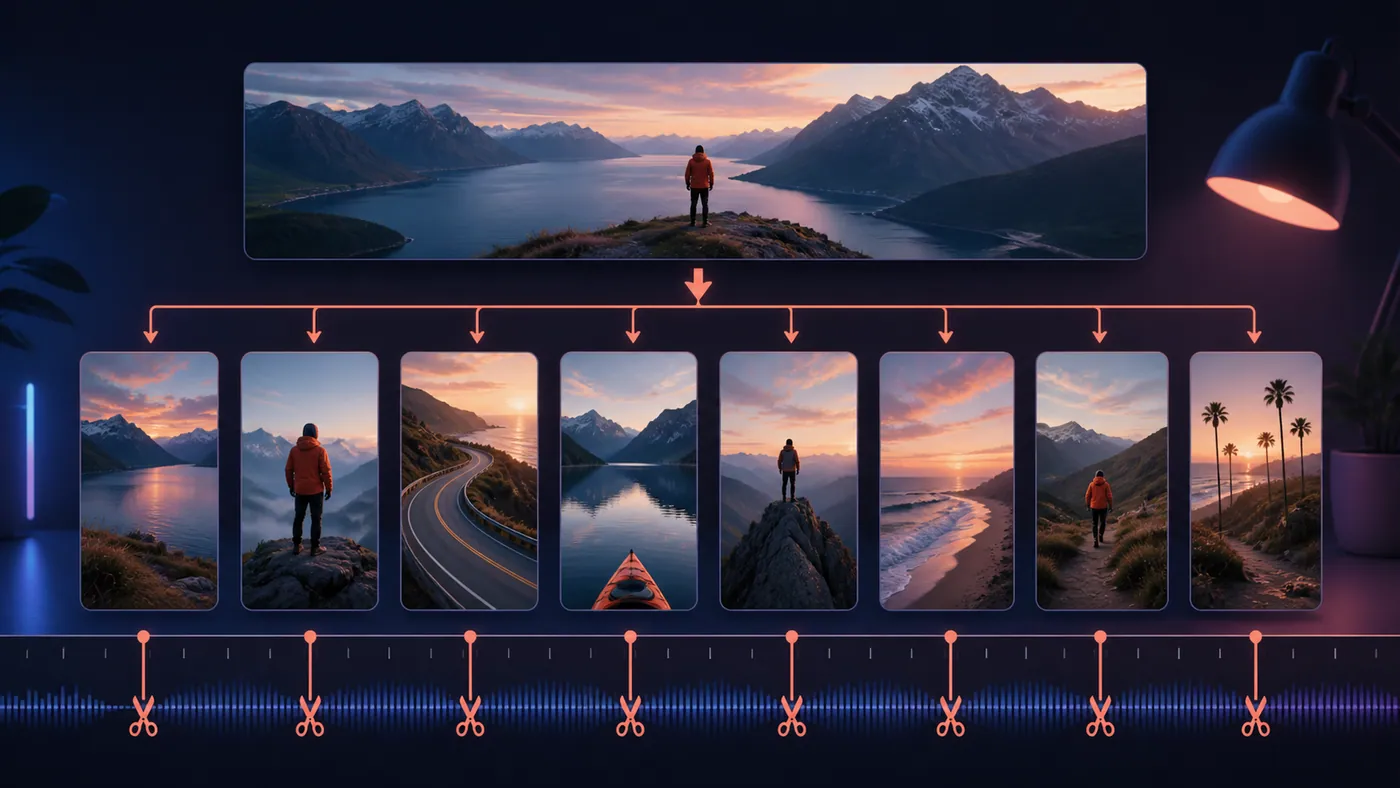
Use it for captioning batches, review chunks, recurring social slots, or any workflow where maximum length matters more than visual continuity. A timed cut can land in the middle of an action or sentence, so preview the results before publishing.
Equal parts for an exact file count
Equal parts divides the complete duration into 2 to 20 sections. A 60-second source divided into four parts creates four clips of about 15 seconds each.
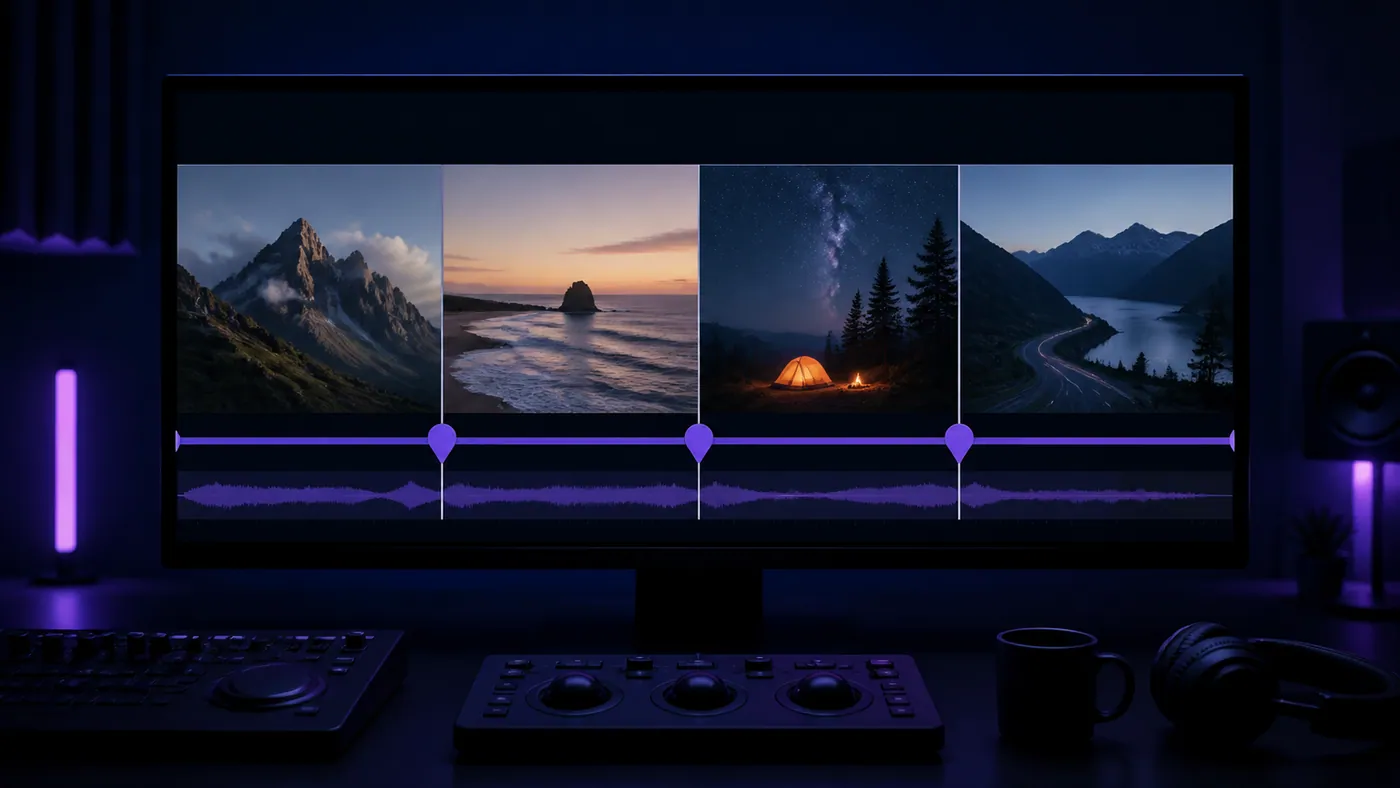
Use it when collaborators need one section each or when a downstream workflow accepts a fixed number of inputs. Equal parts guarantees the requested count, not meaningful scene boundaries.
Four useful workflows after splitting
Analyze a reference video shot by shot
Separate an ad, trailer, or product reel, then review the framing, shot duration, camera motion, and transition of each result. If you need a structured text description instead of media files, continue with Video to Prompt.
Recover shots from a flattened export
When only an approved final export remains, split it and move the useful MP4 files into a new timeline. This avoids repeatedly setting in and out points on the full source.
Prepare a remake reference set
Keep the shots that define the composition and pacing you want to reproduce. The Video Remake workflow can turn a short reference into an editable visual plan.
Develop selected ideas into a new video
Identify the strongest composition, movement, or rhythm in the recovered shots, then use those observations as prompts or references in the AI Video Generator.
Troubleshoot scene-splitting results
| Result | Likely reason | Best next action |
|---|---|---|
| Only one clip is returned | The source has no sufficiently clear visual transition | Use Fixed duration or Equal parts |
| A real cut is missed | The transition is gradual or the two shots look similar | Add the cut in an editor or use a timed mode near that point |
| Too many clips are created | Flashes, abrupt exposure changes, or fast motion resemble edits | Preview neighboring clips and keep only useful results |
| Processing is slow | The browser is decoding and re-encoding a demanding file | Try a shorter standard MP4 and close memory-heavy tabs |
| The file cannot be opened | Its container is accepted but its codec is not decodable in the browser | Re-export it as a standard MP4 |
Frequently asked questions
Is the source video uploaded?
No. The selected file is analyzed and cut locally in the browser. The source is not uploaded to product storage.
What happens when no scene change is detected?
The full source is returned as one clip. Switch to Fixed duration or Equal parts if you still need multiple files.
Can I request an exact number of clips?
Yes. Equal parts accepts a count from 2 to 20 and divides the full duration evenly.
What format are the downloaded clips?
Each segment is an MP4 with H.264 video and AAC audio when the source contains audio. Files can be downloaded individually or packaged in one ZIP.
Is the video splitter free?
Yes. The current browser tool requires no signup, credits, software installation, or watermark for splitting and downloading a short video.
Split one source video now
Start with an edited asset you already need to reuse: a product reel, montage, storyboard export, ad reference, or approved social video. Choose the mode based on the boundary you need, then inspect the results before moving them into the next workflow.