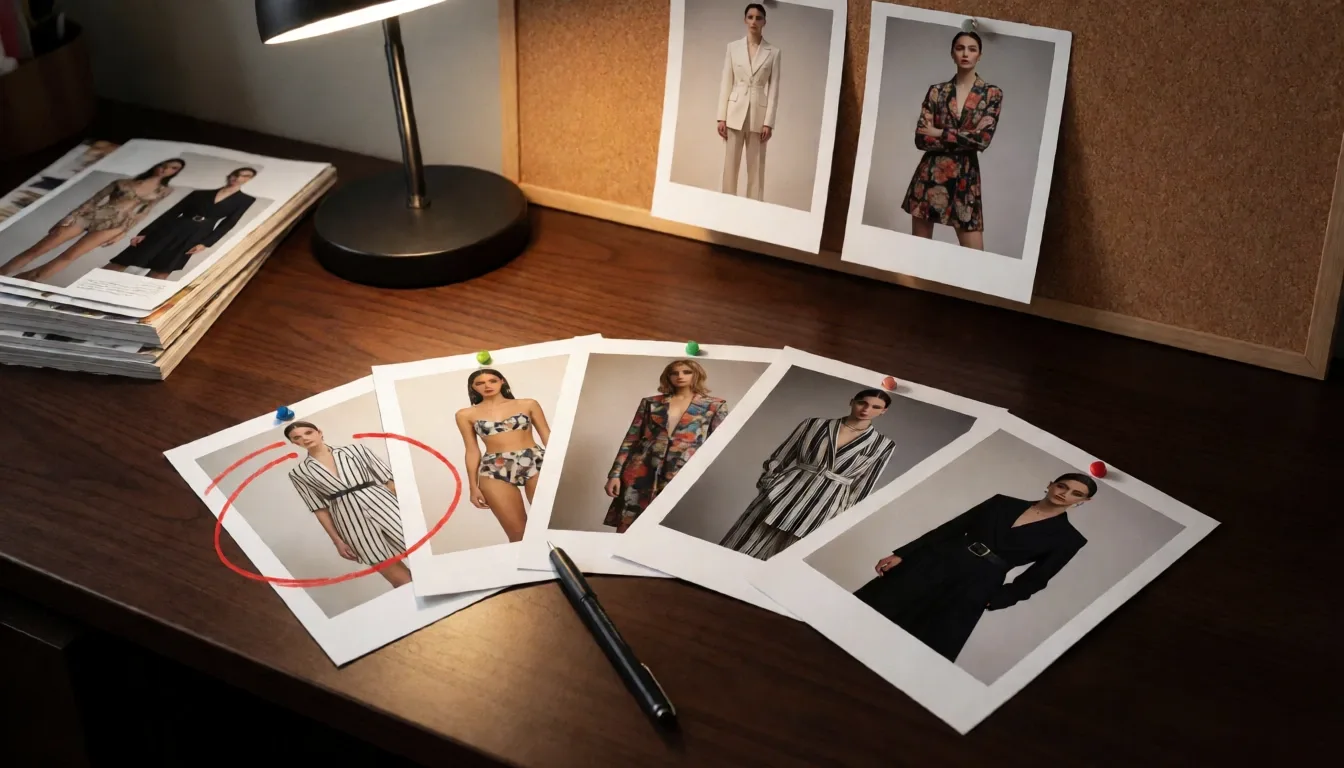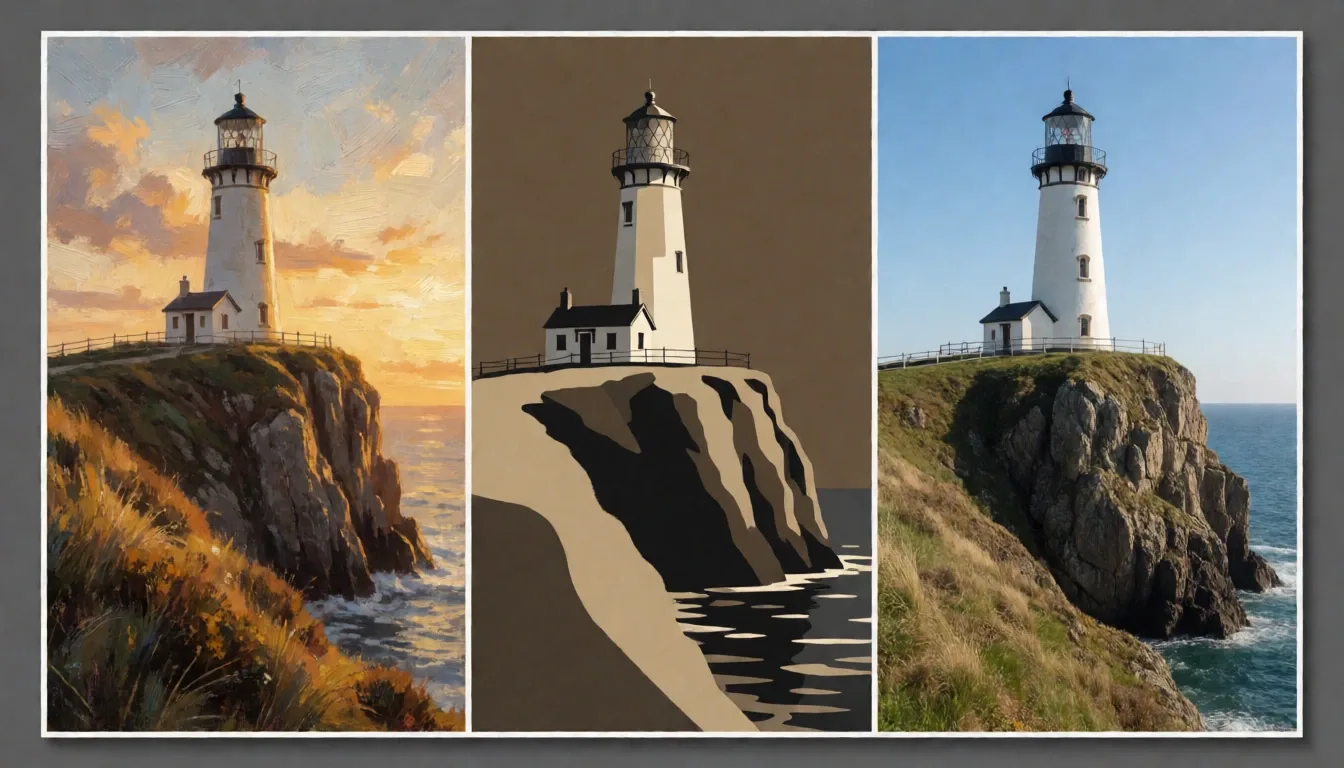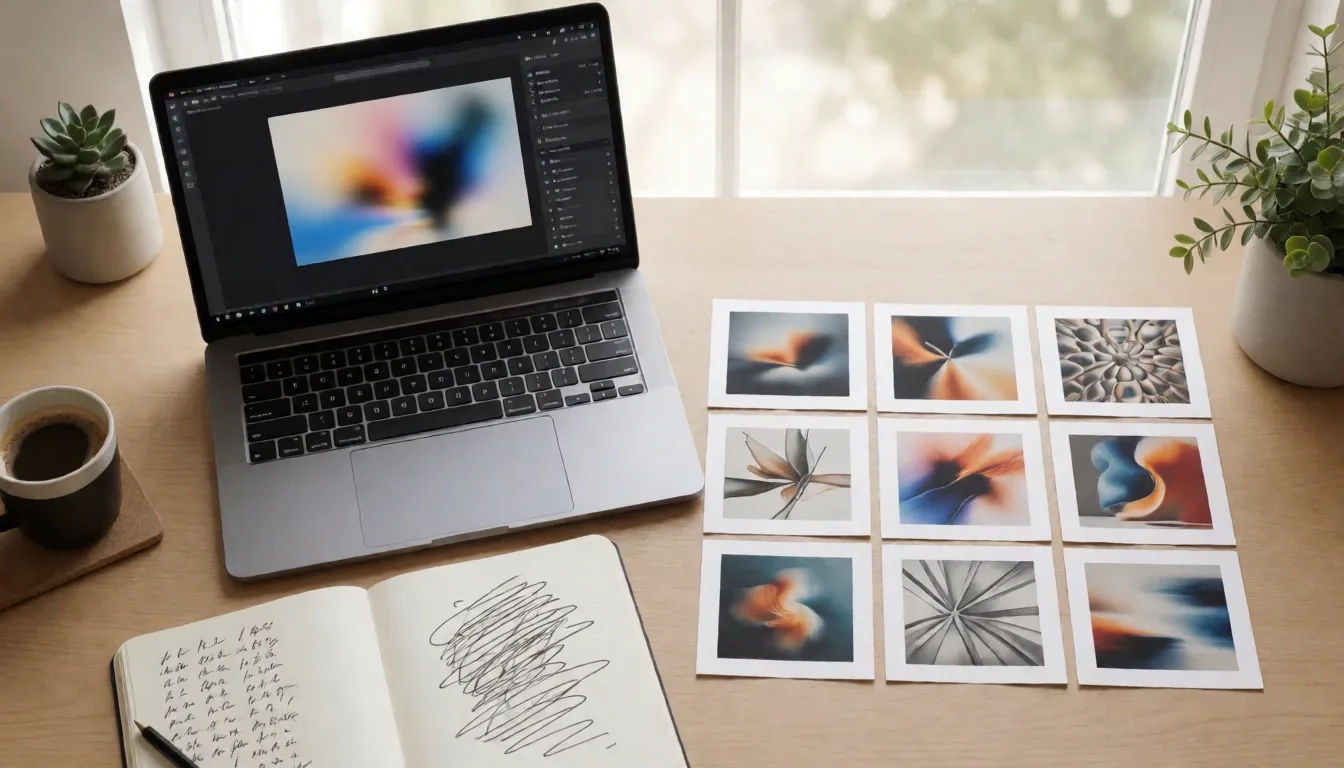
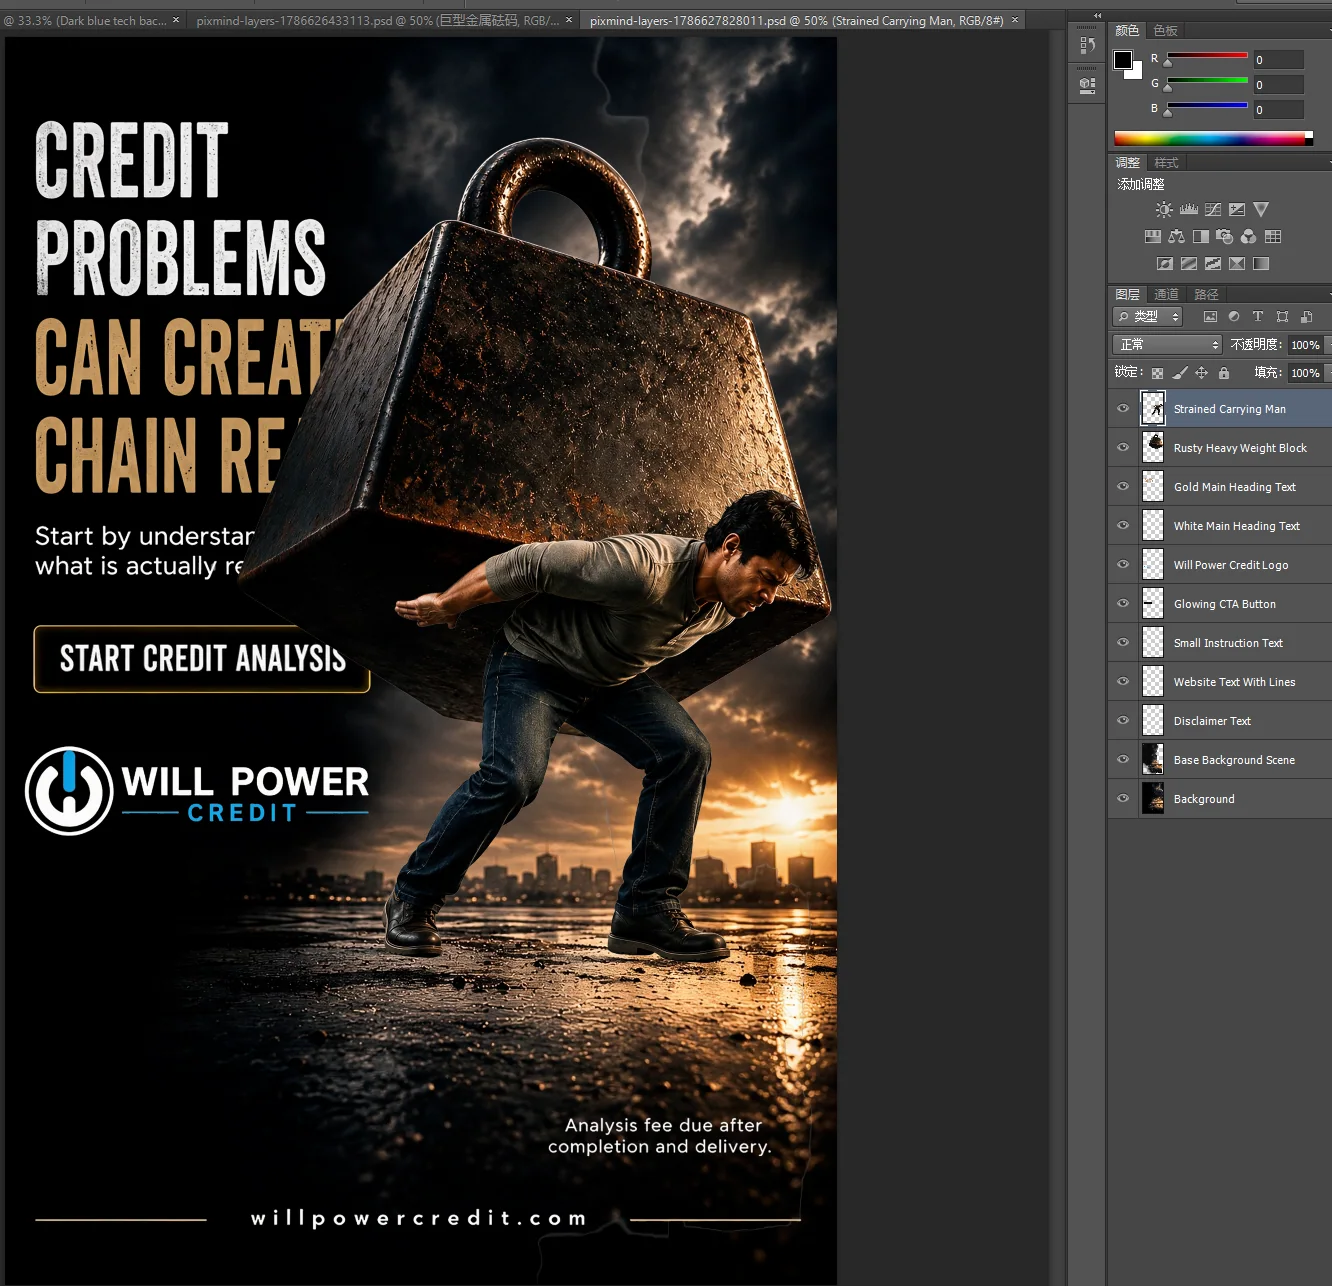
A JPG or PNG can be converted directly into a layered PSD, but the result is best understood as a set of rearrangeable pixel layers, not a lossless reconstruction of the original design file. The background, people, products, text, and decorative elements are separated into layers with transparency, so you can move, hide, resize, or replace them. Text remains a pixel layer. It is not live text with editable fonts, sizes, and letter spacing.
AI image layer separation is most useful when you only have a finished image but need to replace its background, revise the composition, create size variants, or prepare assets for animation. It comes closer to recovering the visual structure than manually cutting out one object at a time, although overlapping edges, translucent materials, and small text still require human review.
Key takeaways
- Converting JPG/PNG to a layered PSD recovers pixel layers, positions, names, visibility states, and stacking order on the canvas. It does not recover the original fonts, vector paths, Smart Objects, or edit history.
- More layers are not always better. A practical rule is that every layer should correspond to a real downstream editing action.
- The current workflow supports JPEG and PNG files up to 30MB. Paid plans can download individual transparent PNGs, a ZIP containing all layers, and a layered PSD.
- Inspect each layer's outline and the recomposed image in the web workspace before renaming, grouping, and refining the layers in Photoshop. This keeps rework to a minimum.
Decide whether you need layer separation, background removal, or vectorisation
The goal is not simply to "process the image." It is to choose the right data structure for the next editing step. If you only want to remove the background, there is no reason to generate a dozen layers. If you need to enlarge a logo indefinitely or edit its paths, pixel-layer decomposition is not a substitute for vectorisation.
| Next task | Best tool | Result | Not designed to solve |
|---|---|---|---|
| Keep only a person or product | Smart Background Remover | One transparent foreground image | Separating text, decorations, and multiple subjects |
| Move the background, subject, text, and decorations independently | AI image layer separation | Multiple transparent pixel layers, a ZIP, or a PSD | Recovering fonts, pen paths, and the original project history |
| Change only a local area in the image | AI Local Edit | A revised composite image | Building a maintainable multilayer structure |
| Enlarge a logo, icon, or simple illustration and edit its nodes | Image to Vector | A scalable vector result | Separating layers in complex photography and natural textures |
Start with one question: Which object will the next edit affect? If the answer is "only the background," two layers will usually be enough. If you need to edit the product, its shadow, price text, and decorative elements, retain each of those as a separate, controllable unit.
What AI image layer separation actually does
JPG and standard PNG files are flat raster images. When a final design is exported, its background, subject, shadows, text, and lighting effects are merged into a single pixel grid. Open that file in Photoshop and you will see only one layer. The software cannot tell whether a red area belongs to the product, headline, or decoration.
An image decomposition model tries to infer those components from visual semantics and occlusion, then outputs multiple RGBA images. RGB stores colour, while the alpha channel stores the transparency of each pixel. The public Qwen-Image-Layered paper describes this task as deriving multiple semantically disentangled RGBA layers from a single RGB image. This is a reference to a public technical framework. It does not mean that PixMind's current service uses that model or implements it in exactly the same way.
Each RGBA layer is still a pixel image, but it can be hidden, moved, resized, recoloured, or replaced independently. Adobe's overview of layers likewise explains layers as image components that can be handled separately without affecting other content. That is the core advantage of layer separation over a single-object cutout.
AI must infer areas hidden by other objects, so the output cannot be equivalent to recovering the creator's original assets. If a headline covers part of a person, or a prop obscures the back of a product, the model may generate part of the unseen content or may preserve only the visible outline needed for the current composite. Inspecting overlaps matters more than simply judging the final recomposed image.
Current input and output settings
The ranges below were verified as of this article's last update. Pricing and credit requirements can change, so refer to the live pricing page and the tool interface. This article does not state a fixed credit cost.
| Setting | Current range | Recommendation |
|---|---|---|
| Input formats | JPEG, PNG | Use an original that has not been repeatedly compressed whenever possible |
| File size | Up to 30MB | If the file is too large, reduce its dimensions or compression quality first |
| Aspect ratio | 1:16 to 16:1 | For extremely tall or wide images, confirm that every important element still has enough pixels |
| Total pixel count | Between the equivalent of 512 × 512 and 6000 × 6000 pixels |
Use Image Upscaler for a small image, but remember that upscaling cannot create accurate details that were never present |
| Number of layers | Paid plans support 2 to 16 layers or Auto | Choose based on real editing actions; try Auto first for a complex composition |
| First free trial | Up to 3 layers, without Auto | Suitable for generating and previewing a basic decomposition; downloading or exporting requires an upgrade |
| Output resolution | 1K, 1.5K, 2K, Auto | Start at 1K for a social draft; choose a higher setting when you need more room for retouching and cropping |
| Free-trial resolution | Fixed at 1K | Validate edges and layer logic before choosing later settings |
| Output files | Individual transparent PNGs, a ZIP with all layers, and a layered PSD | Available to paid plans; choose according to the downstream software |
How many layers should you choose?
The most reliable method is not to count everything visible in the image. Instead, list the edits you plan to make. Every layer should support at least one action, such as "replace the background," "move the product," "hide the price sticker," or "animate the foreground leaves with parallax."
| Image type | Suggested starting point | Example controllable units |
|---|---|---|
| Portrait or product background replacement | 2 to 3 layers | Background, subject, foreground shadow |
| E-commerce hero image | 4 to 6 layers | Background, product, cast shadow, props, selling-point text, decoration |
| Poster or magazine cover | 5 to 8 layers | Background, person, headline, subheading, foreground, lighting effects, decoration |
| Complex concept art or animation preparation | More than 8 layers or Auto | Foreground, middle ground, background, multiple subjects, atmosphere, text, and effects |
With too few layers, text may merge with a person, so moving the person also moves the headline. With too many, one object may be split into unwieldy fragments and gaps at the edges become more obvious. Starting with the fewest layers needed to cover all expected actions is usually more practical than aiming for the maximum.
Complete workflow: convert JPG/PNG to a layered PSD
1. Define what needs to remain editable
Before uploading, write down three to six actions, such as replacing the background, moving the product to the left, hiding the price, or lowering the opacity of a lighting effect. This action list directly informs the layer count and helps you write a clearer decomposition prompt.
If the asset comes from an AI generation tool such as Seedream 5.0 Pro image generation and editing, you can reduce unnecessary occlusion at the generation stage and keep the subject's full outline visible. When generating product concept art, for example, leave space between the headline and the product so that the layers are easier to inspect later.
2. Upload a JPEG or PNG
Open PixMind AI Image Layers and select a JPEG or PNG that meets the file-size, aspect-ratio, and total-pixel requirements. The current workflow uploads the file first, so it should not be described as processing that happens entirely within the local browser.
Use a clear version with minimal compression artefacts. Small low-resolution text, hair, smoke, glass, and soft shadows already lack crisp boundaries. Repeated compression removes even more of the information the model can use.
3. Choose the layer count and output resolution
Choose 2 to 16 layers according to your action list, or use Auto on a supported plan. The first free trial allows up to 3 layers, uses a fixed 1K resolution, and does not include Auto.
Resolution determines the working dimensions of the output layers. It does not guarantee more accurate edge recognition. If the source contains very few pixels, a higher output setting cannot restore true font outlines or the original details of an occluded object.
4. Describe the whole image and the desired grouping
Your description should cover the overall image, the main subjects, and the components you want to handle independently. The public Qwen-Image-Layered project documentation specifically notes that the text prompt primarily describes the entire input image and does not guarantee precise semantic control over every layer. Treat this as a useful general expectation: instructions can guide the grouping, but the preview still needs to be checked.
Do not write only "separate this into layers." A more effective prompt is: "E-commerce hero image with a pair of trainers in the centre and a gradient studio background. Keep the product, floor shadow, props on both sides, selling-point text, and background separate."
5. Inspect transparent edges one layer at a time
After generation, hide the other layers and inspect each current layer individually. Pay particular attention to hair, fingers, product cutouts, wheel spokes, glass, smoke, shadows, and counters inside letters. These areas are most likely to retain background colour, show broken transparency, or stick to neighbouring elements.
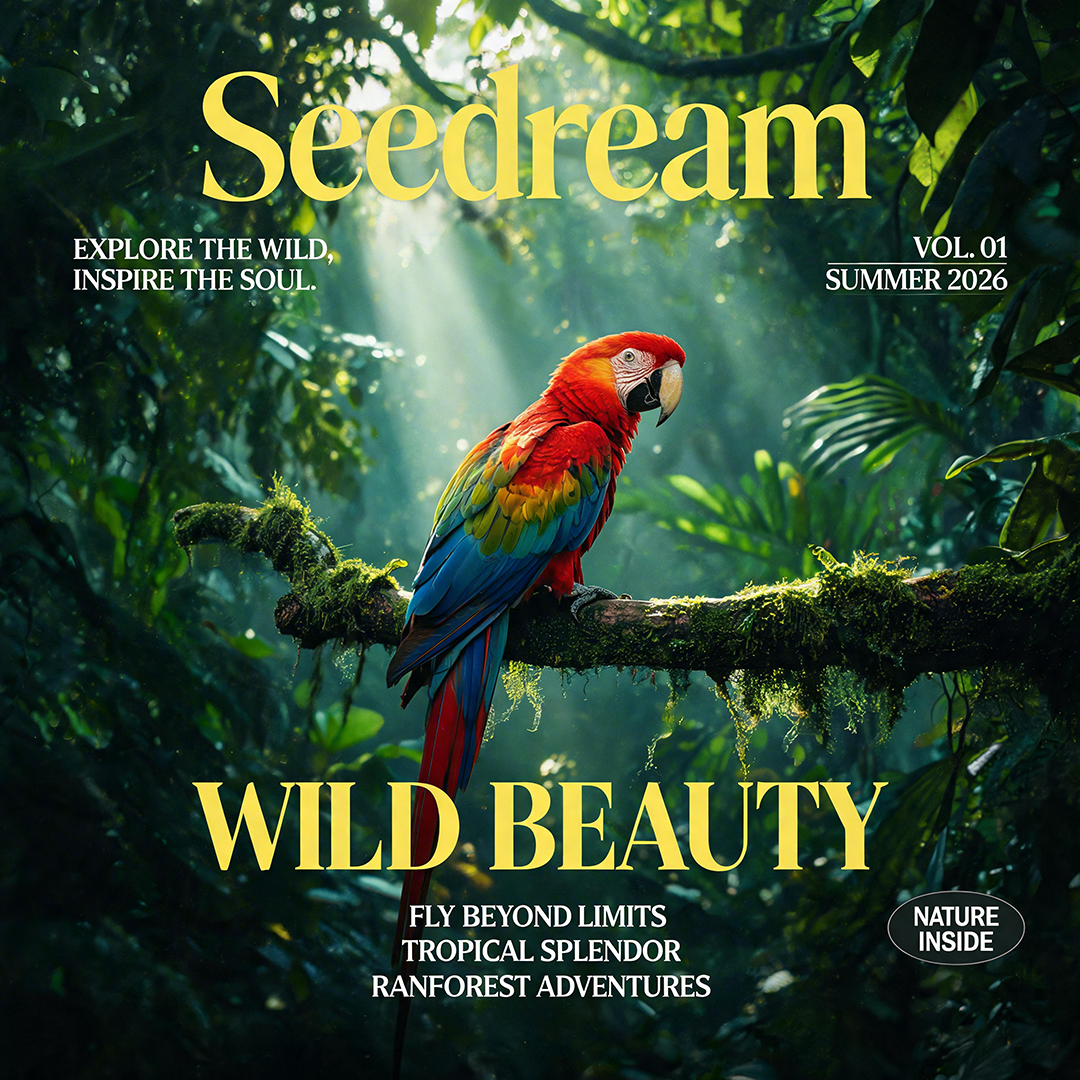
Then restore all layers and confirm that the combined result has no obvious white or black fringes, holes, or duplicated textures. A layer can look complete in isolation and still fail to match the original when recomposed.
6. Export for your downstream software
Paid plans let you choose the download format according to the next application. Download the relevant PNG when you need one transparent asset, the ZIP of all layers when you need to rebuild the design in another application that supports image imports, or the PSD when you want to preserve positions, order, and visibility in Photoshop. The first free trial supports generation and preview; downloading or exporting prompts an upgrade.
Figma's official image and video import documentation lists its supported image formats, and PSD is not included. The reliable way to move the result into Figma is to use the transparent PNGs from the ZIP and place them in the correct order within a frame of the same size.
7. Organise and refine the result in Photoshop
After opening the PSD, verify the canvas size and layer count. Then group the layers logically as background, subject, text, lighting effects, and foreground. Rename ambiguous layers, keep an untouched copy of the original export, and only then refine edges, add masks, rebuild text, or create adjustment layers.
Adobe's Photoshop file formats overview identifies PSD as Photoshop's native file format. The PSD exported here provides a layered pixel structure, but it cannot generate design objects that only existed in the original source file.
Four reusable image decomposition prompts
Replace the text in square brackets with details from your image. A prompt expresses the intended grouping, not an exact layer contract, so inspect every generated layer.
Poster and magazine cover
This is a [theme] poster featuring [person or product] against [scene description].
Prioritise separating the background, subject, headline, subheading, foreground decorations, and lighting effects while preserving their original canvas positions and occlusion relationships.
Keep the headline as a separate pixel layer and do not merge it with the person.
E-commerce product hero image
This is an e-commerce hero image for [product category]. The central product is [product name], surrounded by [props], with a natural cast shadow underneath.
Separate the background, product, product shadow, props, selling-point text, and decorative elements.
Preserve smooth transparency transitions around product edges, cutout areas, and translucent materials.
AI concept art and scene reconstruction
This is [style] concept art containing [content] in the background, [content] in the middle ground, [content] in the foreground, and a main character described as [description].
Separate the background, middle ground, character, foreground occluders, and atmospheric lighting effects according to spatial depth.
Preserve each layer's original position and stacking order so that the composition and depth of field can be adjusted later.
Assets for parallax animation
This image will be used for parallax and camera push-in animation. The main subject is [description].
Keep the distant background, middle-ground environment, main character, left and right foreground elements, and particles or lighting effects separate.
Separate objects that will move independently, and avoid merging foreground occluders with the main character.
What an editable PSD can and cannot retain
In a layered PSD, "editable" primarily means that you can manipulate the layers. It does not mean that native object properties are restored. The table below is suitable for setting clear delivery expectations.
| Retained | Not recovered | Practical impact |
|---|---|---|
| Canvas dimensions | Original source file and linked assets | You can continue from the original composition, but cannot recover assets that were never embedded |
| Pixel-layer names | Live editable text and font files | You can move or hide an entire text layer, but must typeset the copy again to change it |
| Layer positions and dimensions | Vector paths and shape parameters | You can transform the pixel layers, but major enlargement may make them blurry |
| Visible or hidden state | Smart Objects | Repeated lossless transformations and access to original object content are not available |
| Layer stacking order | Adjustment layers, original masks, and layer styles | You can reorder layers, but the original non-destructive adjustments will not appear automatically |
| Transparent pixels | Original edit history | You can composite the layers, but cannot return to the creator's earlier editing steps |
Text causes the most confusion. A headline may be separated into its own layer, but it is still a pixel image with a transparent background, not a Photoshop text layer. To change the wording, use the pixel headline as a reference for placement and style, then typeset it again with the correct font.
Practical use cases for separated layers
Create multiple sizes from one poster
Separate the person, headline, and decorations before adapting the design to landscape, portrait, and square canvases. Compared with repeatedly cropping a flat image, layers let the headline avoid the person, allow the foreground to overlap the subject again, and make it easier to adjust visual emphasis for each platform.
Replace an e-commerce background after the composition is approved
Once the product and its cast shadow are separate, you can retain the approved product angle while replacing only the seasonal background or campaign colour. To continue creating a family of product visuals, you can also use the transparent product layer in the AI Product Image workflow.
Prepare foreground, middle ground, and background for animation
Once the distant background, middle ground, subject, and foreground are independent, you can assign different movement speeds in video software to create parallax. Particles, smoke, and lighting effects benefit from independent opacity control, but their translucent edges should be checked first.
Hand AI concept art to a designer for refinement
A layered PSD gives the designer a clearer starting point. They can quickly identify which visual elements are reusable and which text, paths, masks, and colour adjustments need to be rebuilt, instead of cutting every object out of a single flat image first.
Quality checks and troubleshooting
Web workspace checklist
- Show each layer on its own and confirm that it has not captured a neighbouring object.
- Check hair, cutouts, reflections, glass, smoke, shadows, and counters inside letters.
- Recompose all layers and compare their outlines, colours, and occlusion relationships with the original.
- Hide any layer and check whether an implausible hole appears underneath.
- Confirm that the layer names, order, and count correspond to your action list.
- Preview at the target size rather than judging edge quality from a thumbnail alone.
Photoshop hand-off checklist
- Keep an untouched copy of the exported PSD as a baseline.
- Rename and group layers by content instead of leaving names such as "Layer 1."
- Refine edges with masks and avoid directly erasing the only available pixels wherever possible.
- Create Smart Object copies of elements that will be resized frequently.
- Rebuild text layers whose copy must change, and verify font licensing and letter spacing.
- Inspect the result against both dark and light backgrounds to reveal hidden white or black fringes.
| Problem | Common cause | Recommended fix |
|---|---|---|
| Person and headline are stuck on the same layer | Too few layers, or the two overlap closely | Increase the layer count and state clearly that the headline must remain separate |
| One product is split into several fragments | Too many layers, or reflections and materials are interpreted as independent objects | Reduce the layer count, or merge layers that belong to the same editing action in Photoshop |
| Hair or transparent materials retain a background tint | Insufficient edge information in the original, with background colour bleeding into the subject | Inspect against several background colours and refine locally with a mask |
| Hiding the foreground reveals a hole | The occluded area contains no original pixels and the model's reconstruction is incomplete | Fill a small area with local editing, or preserve the original occlusion relationship |
| Small text is blurry or its strokes are broken | The source resolution is low and the text has already been rasterised | Rebuild it as live text instead of trying to edit the pixel layer |
| The PSD contains only pixel layers | This is the current delivery boundary, not file corruption | Treat the result as a structured base, then add text, vectors, and adjustment layers |
| Figma cannot import the PSD directly | Figma does not list PSD as an image import format | Download the ZIP and place the transparent PNGs in order within a same-size frame |
Frequently asked questions
Can a JPG really be converted into a layered PSD?
Yes. AI infers the visual components in the JPG, generates transparent pixel layers, and writes their canvas, positions, names, and stacking order into a PSD. It cannot recover the original text, paths, Smart Objects, or history from before the JPG was exported.
Does every PNG have a transparent background?
No. PNG can store an alpha channel, but a composited PNG can also be completely opaque. The generated layers use transparency to retain object outlines.
Should I choose Auto or set the layer count manually?
If you already know which objects you need to edit, selecting the count manually from your action list is easier to manage. If the composition is complex and the object relationships are unclear, try Auto to inspect the grouping, then reduce or adjust the count based on the result. Auto is not available in the first free trial.
Can I change pixel text directly to new copy?
Not in the way you would edit live text. You can move, hide, or process the entire pixel layer, but you should create a new text layer in Photoshop when changing the wording.
Should I download the PSD or ZIP?
Choose PSD if you will continue in Photoshop. Choose ZIP when you need the transparent assets individually or plan to use a tool such as Figma that does not directly import PSD files. If you need only one object, download its transparent PNG.
Do complex edges require manual review?
Yes. Hair, smoke, glass, reflections, soft shadows, and occluded areas may all need edge refinement or reconstruction. Inspect the layers individually before producing size variants or animation at scale.
Start with a real image
Choose a JPEG or PNG that genuinely needs further editing. Write down three to six downstream actions first, then set a layer count that matches them. After generation, inspect transparent edges layer by layer, verify the full composite, and check the PSD layer structure.
Open the AI Image Layers tool to convert a flat image into transparent layers and a PSD.
Editor's note: This article is an expanded update of the original tutorial, "Still cutting images out by hand? Try PixMind Image Layers: from a flat image to a complete PSD". It retains the original publication date of August 14, 2026, and was updated on August 19, 2026, with current product settings, public research, and official Adobe and Figma documentation. The update adds guidance on tool selection, delivery boundaries, prompt templates, and quality checks. Product capabilities may continue to change; refer to the interface for current pricing and credit requirements.